What is Headless in WordPress?
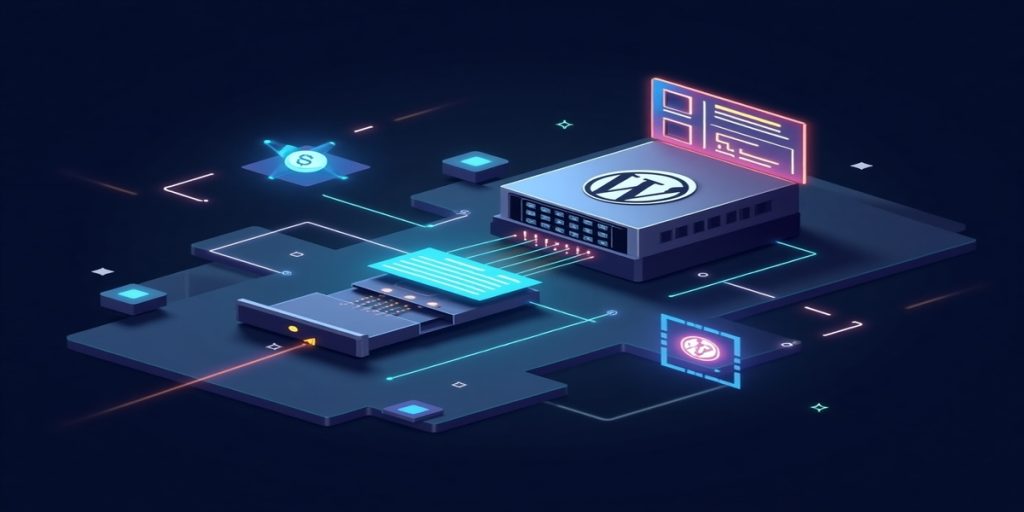
Headless WordPress is a modern website architecture that leverages WordPress for content management while decoupling the front-end from the back-end. In this approach, WordPress serves solely as the content repository, while a wide range of technologies or frameworks can be utilized to construct the front-end and present the content to users. With REST APIs, developers can seamlessly integrate with a wide array of technologies, as long as they communicate using the universal format of JSON.
At PIT Solutions, we leverage headless CMS architectures like Headless WordPress to build flexible, high-performance, and scalable web applications tailored to diverse business needs.
Key Characteristics of Headless WordPress
- Content-first approach: WordPress acts as a backend content management system.
- API-driven: Content delivered via an API to a separate frontend.
- Frontend agnostic: You can use any technology stack to build the frontend, such as JavaScript frameworks or static site generators.
- Decoupling: It decouples the backend (content management) from the frontend (presentation layer), meaning you can use WordPress to manage content while building the frontend with any technology (e.g., React, Angular, Vue.js).
- Flexibility: This separation grants developers maximum flexibility in designing and building the frontend, without being constrained by WordPress’s traditional theme and plugin system.
- Faster Load Times: By removing the overhead of server-side rendering, it can lead to faster load times and improved performance.
- Scalability: The decoupled architecture allows for independent scaling of the frontend and backend, making it easier to handle increased traffic and user demand.
- Concurrent Development: Frontend and backend teams can work independently, accelerating the development process.
- Content Syndication: It enables easy content syndication across multiple platforms and channels.
- SEO Optimization: It can significantly enhance SEO efforts due to its flexibility, scalability, and performance -related optimization capabilities.
- Improved User Experience: Faster load times and better performance contribute to a better user experience, which is a key factor in SEO.
- Adaptability: It allows developers to adapt to emerging trends and technologies without overhauling the entire system.
- Easier Updates and Migrations: The separation of concerns makes it easier to update and migrate the frontend without affecting the backend.
- Centralized Content Hub: WordPress continues to serve as a centralized content hub, providing a user-friendly environment for content creation and management.
- Plugin and Theme Access: While the frontend is decoupled, content creators can still leverage the power of WordPress plugins and themes for content creation and management.
- Freedom to Choose: It allows you to use any frontend technology, giving you the freedom to choose the best tools for your project.
Potential Drawbacks of Headless WordPress
- Increased Complexity & Technical Expertise:
- It separates the content management system (CMS) backend from the frontend, which can lead to a more complex system to manage.
- This requires developers to have a deeper understanding of APIs, custom integrations, and potentially working with different frontend frameworks.
- The complexity can also translate to more room for errors and challenges in debugging.
- Higher Maintenance Costs:
- Maintaining two separate systems (backend and frontend) can lead to higher maintenance costs compared to traditional WordPress.
- Custom integrations and frontend development can also add to the overall maintenance burden.
- Reduced Plugin & Theme Access:
- Unlike traditional WordPress, headless WordPress doesn’t rely on the extensive plugin and theme library, meaning you’ll need to build or find custom solutions for functionality and design.
- This can increase development time and potentially slow down the overall development process.
- Formatting Challenges:
- Since you’re not always previewing what content will look like on the page, a headless CMS will have some formatting issues.
- Extra steps will, therefore, have to be taken to predict how content will look on the front end.
- Security Concerns:
- Because you are relying on APIs, there can be security concerns if the APIs are not properly secured.
- You need to ensure that the frontend and backend are both secure.
- Scalability:
-
It can be less scalable than traditional WordPress in certain implementations.
-
You need to ensure that both the frontend and backend can handle traffic effectively.
-
How To Create a Headless WordPress Site With React
Here’s a step-by-step guide to creating a headless WordPress site with React:
Step 1: Set Up WordPress as a Headless CMS
Before we dive into React, we need to configure WordPress to serve content via an API.
- Install WordPress:
- Set up WordPress on your server (you can use a local environment like XAMPP, MAMP, or a live server).
- Follow the usual WordPress installation steps.
- Install and Activate the REST API Plugin (Optional):
- WordPress comes with a built-in REST API by default. However, for advanced customizations, you might want to use a plugin like the WP REST API Controller to expose additional data.
- Create and Publish Content:
- Go to the WordPress dashboard and create some posts, pages, or custom post types that will be fetched by your React app.
https://your-wordpress-site.com/wp-json/wp/v2/posts This should return a JSON response containing your posts. If it works, you’re good to go! Step 3: Set Up a React App
- Create a React App:
npx create-react-app headless-wpcd headless-wp
- Install Axios for API Requests:
npm install axios Step 4: Fetch WordPress Content in React Now that your WordPress site is set up, let’s fetch data using React.
- Create a Component to Fetch Posts:
import React, { useEffect, useState } from 'react';import axios from 'axios';const Posts = () => {const [posts, setPosts] = useState([]);const [loading, setLoading] = useState(true);const [error, setError] = useState(null);useEffect(() => {const fetchPosts = async () => {try {// Replace this URL with your WordPress site’s API endpointconst response = await axios.get('http://localhost/wordpress/wp-json/wp/v2/posts');setPosts(response.data);} catch (err) {setError('Failed to fetch posts.');console.error(err);} finally {setLoading(false);}};fetchPosts();}, []);if (loading) return <p>Loading posts...</p>;if (error) return <p>{error}</p>;return (<div><h2>WordPress Posts</h2><ul>{posts.map(post => (<li key={post.id}><h3 dangerouslySetInnerHTML={{ __html: post.title.rendered }} /><div dangerouslySetInnerHTML={{ __html: post.excerpt.rendered }} /></li>))}</ul></div>);};export default Posts;
- Import and Use the Posts Component in App.js:
// src/App.jsimport React from 'react';import './App.css';import Posts from './Posts';function App() {return (<div className="App"><header className="App-header"><h1>Headless WordPress with React</h1></header><main><Posts /></main></div>);}export default App; .App {text-align: center;}h2 {font-size: 1.5em;margin-top:20px;} Step 6: Run Your React App Now that everything is set up, you can run your React app. In the terminal, execute: npm start Your React app should now be running, and it will fetch and display the WordPress posts from your headless WordPress setup. Step 7: Deploy Your Application Once everything is working locally, you can deploy your WordPress site (the back-end) and React app (the front-end) separately.
Conclusion: Why Choose Headless WordPress?
Headless WordPress offers a revolutionary approach to website development, providing greater flexibility, scalability, and performance compared to traditional WordPress setups. By decoupling the front-end and back-end, it empowers developers to use modern frameworks, delivering faster load times, a seamless user experience, and the ability to integrate with multiple platforms effortlessly.
The advantages of Headless WordPress are clear: enhanced security, improved scalability, and better performance. Its use enables businesses to deliver content across various channels—web, mobile, IoT, and more—while maintaining a consistent and dynamic user experience. The ability to separate the content management system from the front-end allows for more creative freedom, streamlined updates, and helps future-proof your website for evolving technologies.
The importance of adopting Headless WordPress in today’s digital landscape cannot be overstated. It aligns with the growing demand for fast, responsive websites and provides developers with the tools they need to create cutting-edge solutions. Whether you’re aiming to scale your business, improve site performance, or provide a more personalized experience for your users, Headless WordPress offers a powerful foundation for modern web development.
In summary, embracing Headless WordPress not only offers significant benefits in terms of speed and flexibility but also future-proofs your digital presence, making it a vital choice for businesses and developers looking to stay ahead of the curve in an increasingly competitive digital world.
Ready to elevate your digital presence with Headless WordPress?
Partner with PIT Solutions to build fast, scalable, and future-ready websites using modern frontend technologies and the power of WordPress as a headless CMS.
References:

Ashly Sunny
Senior Software Engineer with 6 years of web development experience, specializing in PHP, CodeIgniter, and WordPress, with expertise in creating scalable and user-friendly solutions.